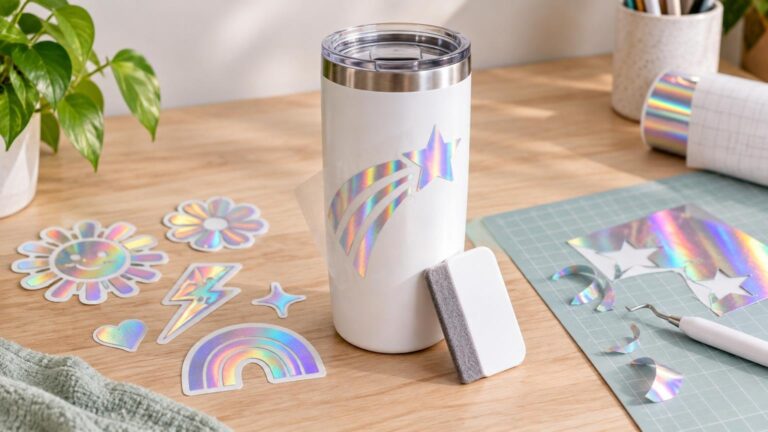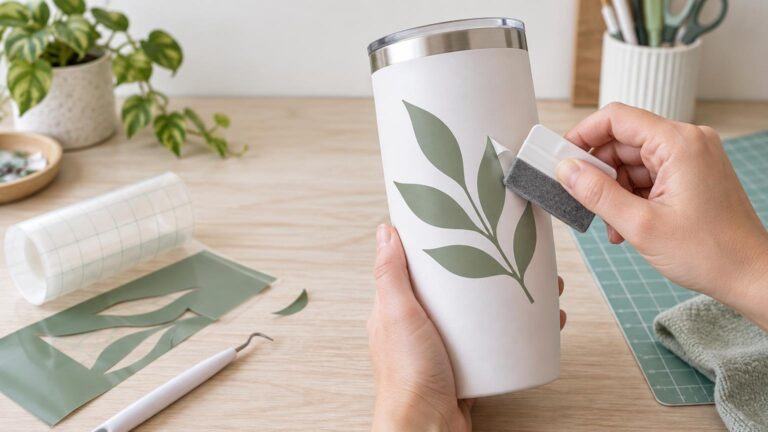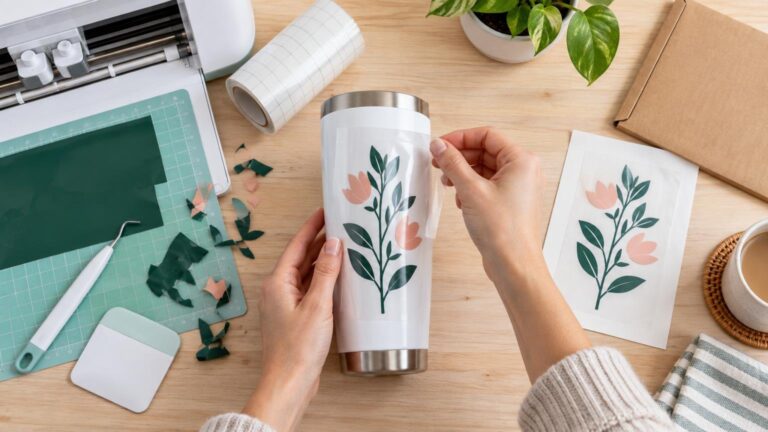
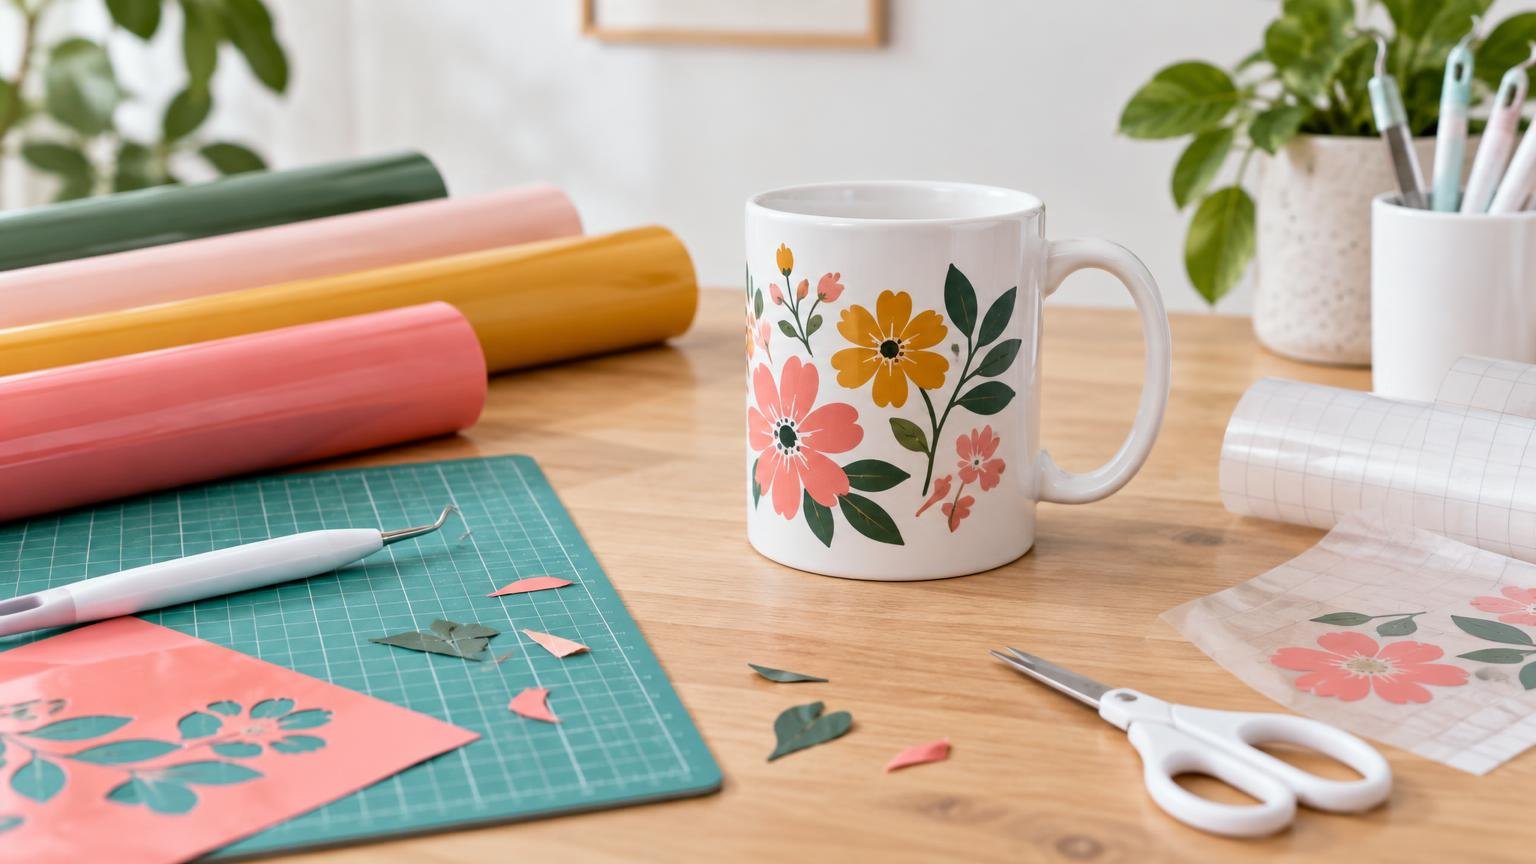
TLDR: The simplest answer to when to cut a vinyl decal yourself vs order a professional transfer decal is to weigh labor and application risk, not size alone. Cut it yourself when the design is bold, the quantity is small, you already have suitable tools, and you can afford a test or redo. Order it prepared when intricate weeding, repeated copies, precise alignment, a fixed deadline, or the cost of a failed application matters more than the fun of making it.
A small decal is not automatically an easy DIY project, and a large one is not automatically a job for a supplier. Tiny separate letters can be tedious to weed and transfer, while one large, uncomplicated shape may be easy to cut but awkward to align without help. The useful question is where the project’s difficulty sits: cutting, weeding, positioning, or applying.
First, make sure you need a vinyl transfer decal
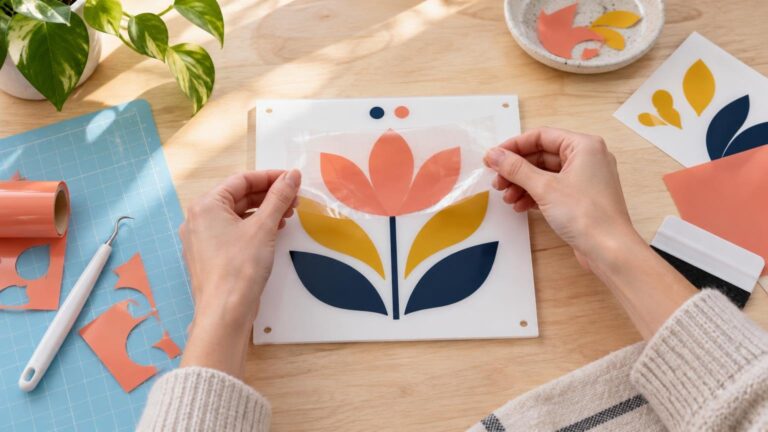
This decision applies to adhesive-vinyl graphics made from cut shapes or lettering. The finished design is moved from its backing to a hard surface with transfer tape. After application, the tape is removed and the individual vinyl elements remain.
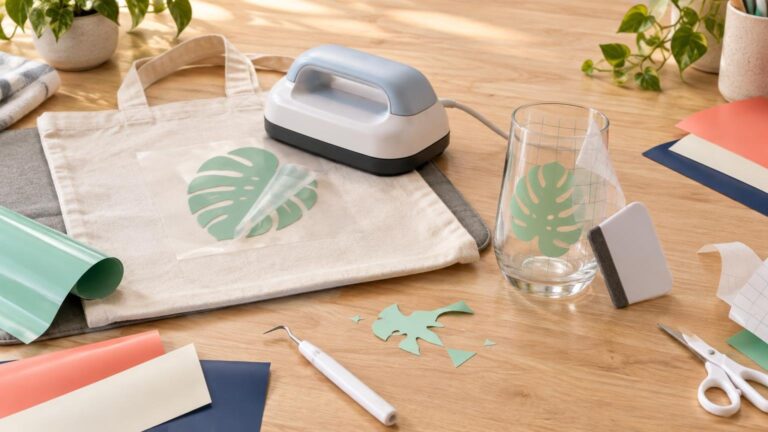
That is different from a printed die-cut sticker, which is typically one printed piece, and from UV DTF, which uses a different production and transfer process. It is also different from heat-transfer vinyl, or HTV, which is designed for heat application and is generally the relevant category for fabric projects. Do not choose ordinary adhesive vinyl merely because the artwork started in the same cutting-machine software.
DIY or professional transfer decal: the practical decision
| Project factor | Cut it yourself when… | Consider ordering when… |
|---|---|---|
| Design | Shapes and letters are bold, connected, and manageable to weed | There are many fine, separate, or closely spaced elements |
| Quantity | You need one or a few and can repeat the workflow as needed | You need consistent copies without repeating all the cutting and weeding |
| Equipment | You already have a suitable cutter, blade, vinyl, tools, and transfer tape | You would need to buy tools or materials mainly for this project |
| Deadline | There is time for a test cut, adjustment, and possible redo | The installation date is fixed and preparation time is limited |
| Application | The surface is smooth, accessible, and forgiving to work on | Placement is prominent, alignment-sensitive, or difficult to redo |
| Creative control | You expect to revise the size or design as you work | The artwork is final and you mainly want a ready-to-apply result |
No single row decides every project. A maker who already owns a cutter may reasonably DIY ten simple labels, while someone without equipment may prefer to order one finished door decal. Treat your time, material waste, and tolerance for mistakes as real project costs.
When cutting the vinyl decal yourself makes sense
DIY is a strong fit for experimentation. If you are trying two sizes on a storage bin, adjusting lettering for a sign, or making a temporary seasonal project, cutting at home lets you change the design without submitting new artwork or waiting for another order.
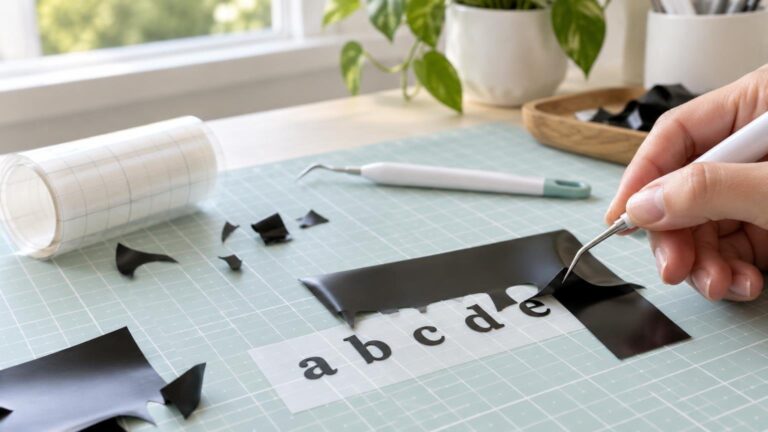
Simple shapes and bold lettering are also friendlier to weed. Weeding means removing the unwanted vinyl around and inside the design. Every separate dot, counter, flourish, or narrow strip adds another opportunity to lift something that should remain. There is no universal minimum detail size for home cutting because the result depends on the film, blade condition, settings, artwork, and machine. The safe approach is to simplify fragile details and run a test cut.
DIY also works well when a redo is inconvenient rather than disastrous. A slightly crooked label on a personal organizer is easier to replace than a large graphic installed for an event the same morning. The more forgiving the project, the more room you have to learn during the process.
When ordering becomes the more practical choice
Ordering can make sense even for a single decal when you do not own a cutter or do not want leftover rolls, transfer tape, and tools. The comparison is not simply material price versus order price. Include equipment, setup, failed test cuts, wasted vinyl, weeding time, shipping, and the cost of missing the deadline. The supplied information does not establish one universal price crossover.
Professional preparation becomes especially useful when a design contains numerous separate elements. The supplier can cut, weed, and mask the graphic so its parts arrive held in their intended positions. That removes production steps, although you are still responsible for measuring, surface preparation, alignment, and careful application.
It can also be the cleaner route for repeat copies. Cutting five decals is only part of the work; each one still has to be weeded and covered with transfer tape. If the copies need to look consistent or be distributed to other people for installation, ready-to-apply pieces reduce the amount of preparation required from you.
One commercial option is a ready-to-apply custom transfer decal. CustomStickers states that this product is supplied cut, weeded, and covered with transfer tape, with ordering available from a quantity of one. Its current page describes that particular offering as one-color black or white and calls for at least 0.125 inch between separate design elements. Those are vendor-specific constraints, not universal rules for every decal provider. Check the current product details before designing around them.
If a cut-vinyl transfer is not the right format, broader custom sticker and decal options may offer a better match for artwork that needs printing or another construction. Choose the format by the finished appearance and intended surface, not merely by the word “sticker” in a product name.
The DIY workflow has more steps than pressing Cut
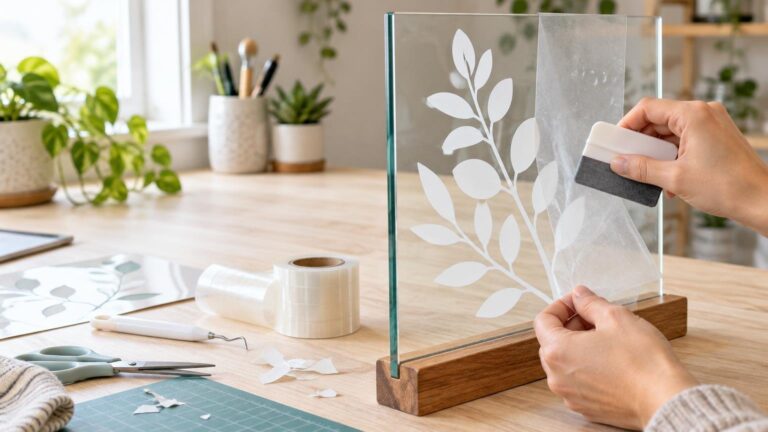
Cricut’s documented adhesive-vinyl process includes cutting, weeding, applying transfer tape, burnishing the design, placing it on a clean and dry surface, and removing the tape. Its guidance also recommends a test cut, matching the transfer tape’s grip to the material, and peeling the tape back at an acute angle rather than pulling it straight away from the surface. Cricut’s vinyl instructions provide the machine maker’s full workflow.
- Measure the application area and size the artwork for the actual surface.
- Confirm that every separate element is large and sturdy enough for a realistic weeding attempt.
- Run a small test cut before committing the full sheet.
- Weed slowly, checking enclosed letter spaces and small detached pieces.
- Choose transfer tape that releases the vinyl without overpowering it.
- Clean and dry the intended surface using a method appropriate for that material.
- Burnish the design onto the transfer tape, align it, and burnish it onto the surface.
- Remove the transfer tape carefully while watching for vinyl that has not adhered.
A problem at any stage can affect the next one. A poor cut makes weeding harder. Excessively aggressive transfer tape can make release frustrating. Dust or residue can interfere with application. Ordering removes cutting and weeding from your workload, but it does not remove the need for good surface preparation and patient placement.
Surface choice can overrule the DIY-versus-order decision
A professionally prepared decal cannot make an unsuitable film work on every surface. Smooth, clean, dry, and reasonably flat hard surfaces are generally the most approachable. Texture, contamination, deep curves, flexible materials, or unsealed surfaces can create additional adhesion and application problems. Confirm that the chosen film is intended for the surface and exposure, then test an inconspicuous area when practical.
For example, ORAFOL describes ORACAL 651 as a permanent-adhesive intermediate calendered film for flat, medium-term uses such as signage, window graphics, craft and home décor, and flat vehicle graphics. Its durability information is tied to the specified material and exposure assumptions; it is not a promise that every installation on every surface will perform identically. ORAFOL’s technical information for ORACAL 651 shows why the exact film and application conditions matter.
“Permanent” describes the adhesive category, not guaranteed compatibility or permanence under all conditions. Removable vinyl may be preferable for temporary décor or surfaces where later removal matters, but even then you should verify the material maker’s guidance and consider the condition of the finish underneath.
Why large simple decals and small detailed decals fail differently
Small detailed decals concentrate the difficulty in cutting and weeding. Narrow strokes, tiny punctuation, and many detached pieces demand more handling. If one element disappears during weeding or stays on the backing during transfer, the whole design can look wrong.
Large simple decals move the difficulty to application. A wide word or silhouette may weed quickly, but its transfer sheet can flex, grab the surface early, trap wrinkles, or land out of alignment. A second person, temporary alignment marks, or a controlled placement method may help. If the location is prominent and replacement would be costly, professional preparation does not eliminate installation risk, but it can prevent production mistakes from adding to it.
Checklist before you cut or order
- Surface: What material and finish will receive the decal? Is it smooth, cleanable, dry, and compatible with the selected film?
- Exposure: Will the decal face moisture, sunlight, handling, cleaning, or outdoor conditions?
- Measurements: Have you checked both the available area and the space needed for application?
- Artwork: How many loose elements, narrow lines, enclosed spaces, and close gaps must be preserved?
- Quantity: Are you making one experiment or a set that needs consistent preparation?
- Tools: Do you already have a suitable cutter, usable blade, weeding tools, vinyl, and compatible transfer tape?
- Time: Is there room for testing, adjustment, and a replacement attempt?
- Format: Do you need individual cut-vinyl elements, a printed sticker, another transfer product, or HTV for fabric?
- Supplier limits: If ordering, have you checked current colors, spacing rules, dimensions, material choices, proofing, production timing, and shipping?
- Redo risk: What happens if the first cut or application fails?
Common questions
Is it cheaper to cut a vinyl decal yourself?
It can be if you already own the equipment, have suitable material on hand, and are making a manageable design. Ordering may cost less overall if DIY requires a new machine, several material purchases, extensive weeding time, or repeated attempts. Compare the complete project cost rather than the price of one sheet of vinyl.
What makes a design hard to weed at home?
Numerous detached elements, fine lines, close spacing, ornate lettering, and tiny enclosed areas all increase handling. Simplifying the artwork or making it larger can help. If those details are essential, ask a supplier to review the artwork against its current production limits.
Is a transfer decal the same as a die-cut sticker?
Not usually. A cut-vinyl transfer decal uses transfer tape to keep separate vinyl elements aligned during application, after which the tape is removed. A printed die-cut sticker is generally applied as one printed piece. Confirm the construction in the product description because sellers do not always use naming consistently.
Should I use adhesive vinyl on a shirt?
For a typical fabric garment project, look at HTV or another apparel-specific transfer method instead. Adhesive craft vinyl and HTV use different application workflows, and a hard-surface transfer decal should not be treated as an iron-on design.
Choose based on the hardest part of the project
Cut the decal yourself when you want creative flexibility, the artwork is manageable, your tools are ready, and a test or redo fits the project. Order a prepared transfer decal when intricate weeding, repeated production, missing equipment, or a fixed deadline creates more work and risk than you want to carry.
Before committing, identify the project’s hardest step. If it is revising the artwork, DIY gives you useful control. If it is producing clean, consistent pieces, ordering may save effort. If it is applying a large graphic to a difficult surface, neither route solves that automatically—verify the material, prepare the surface, and plan the installation first.